
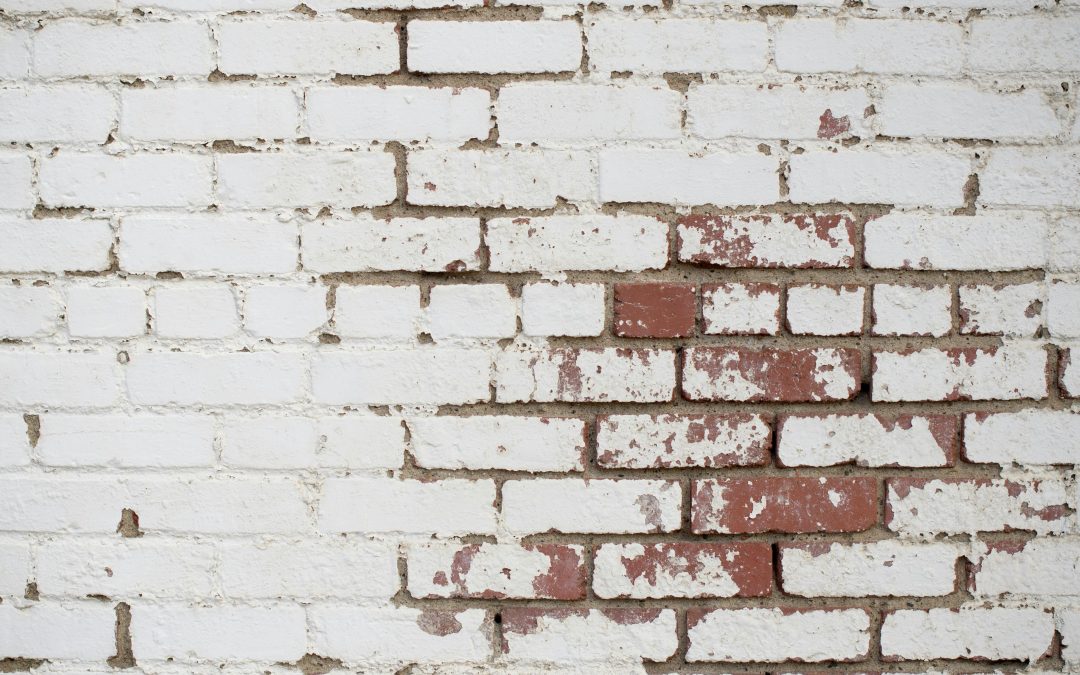
That low stone wall in your backyard might seem like a minor feature—until it starts falling apart. A few loose stones, a crack or two, maybe some weeds growing through… and suddenly your charming garden border looks like it’s been through a war. If you’ve got a crumbling garden wall, it’s time to give it some attention—because it’s not going to fix itself.
The good news? In most cases, you can repair it without tearing the whole thing down. And we’re going to walk through exactly how to do that, step by step.
What Causes a Garden Wall to Crumble?
Before jumping into a fix, let’s talk about why this happens in the first place.
Garden walls—especially those made from stone, brick, or block—are exposed to the elements year-round. Over time, that exposure adds up. Here are a few of the most common reasons walls start to fall apart:
- Moisture damage: Water is a wall’s worst enemy. It gets into cracks, freezes in winter, expands, and slowly breaks the wall apart.
- Poor drainage: If water pools behind or around the wall, pressure builds up and pushes on the structure.
- Aging mortar: Mortar doesn’t last forever. Once it begins to deteriorate, stones and bricks become loose.
- Tree roots and weeds: Nature has no problem breaking through old masonry. Roots can shift the structure from below.
- Improper construction: If the original wall wasn’t built on a stable foundation, it’s likely to shift or collapse over time.
According to the U.S. Department of Agriculture’s Natural Resources Conservation Service, retaining walls without proper drainage can fail within 10 years, especially in freeze-thaw climates.
Step-by-Step: How to Repair a Crumbling Garden Wall
You don’t always need to call in a pro for this kind of repair. If the damage isn’t severe (think loose stones, missing mortar, or small cracks), here’s how to take it on yourself.
1. Clean the Area
First things first—get rid of the mess. Brush off dirt, moss, and loose debris. If you’re dealing with mortar, scrape out crumbling bits so you’re working with solid surfaces.
Tip: Wear gloves and safety glasses when dealing with masonry—chips and dust can fly.
2. Remove and Reset Loose Stones or Bricks
Carefully remove any stones or bricks that have come loose. Clean off the old mortar from each piece. You can usually reuse them unless they’re cracked or damaged.
Set them aside while you prep the area for new mortar.
3. Mix and Apply Fresh Mortar
For small jobs, you can use pre-mixed mortar from a hardware store. Just follow the instructions on the bag. Use a trowel to apply mortar where needed, then reset the stones firmly in place.
Don’t rush—work in small sections so things don’t dry out too fast.
4. Fill Cracks and Gaps
Use mortar or a masonry crack filler to patch any visible gaps. Press it in firmly and smooth the surface for a clean finish.
For dry-stack walls (those without mortar), you can refill gaps with gravel or smaller stones.
5. Let It Cure
Give the mortar time to set—usually 24–48 hours. Keep the area dry if possible. After that, you can rinse the wall gently and enjoy your handiwork.
When to Call in a Pro
If your crumbling garden wall is leaning, bowing, or taller than 3 feet, it’s smart to consult a professional. Structural issues, especially with retaining walls, can be more serious—and fixing them the wrong way can lead to bigger (and more expensive) problems later.
A mason can evaluate the footing, drainage, and soil conditions and recommend the right repair or rebuild strategy.
Tips to Prevent Future Damage
Once your wall’s back in shape, a few small habits can help keep it that way:
- Keep soil and mulch off the base of the wall to reduce moisture
- Reseal mortar joints every few years if needed
- Make sure your yard drains water away from the wall
- Trim plants or roots that push against the stones
If your wall backs up soil (like a retaining wall), consider adding or clearing out drainage pipe systems to reduce pressure.
Final Thoughts: Don’t Wait on That Wall
A crumbling garden wall might seem like a small eyesore now, but it can quickly grow into a bigger structural headache. With a bit of care—and the right tools—you can shore it up and keep it sturdy for years to come.
So next time you walk through the yard and notice a few loose stones or cracked mortar, don’t ignore it. A little weekend work now could save you a full rebuild later.